首先,恭喜刘爽同学,晋级今年的软件大赛,花费的时间与经历,在这一刻感觉是值得的。为了帮助刘爽同学修改一下课题的BUG,所以需要对pdf2htmlEx源码进行编译,在网上找了好多,都不理想,还好在国外的网站上找到这篇文章,希望对自己有用。可是……可是……我今天是测试不了拉,明天再测试吧。
原文引自:http://opendesignarch.blogspot.jp/2013/01/download-and-install-pdf2html.html
Recently, I wanted to convert a large PDF document to html so that I could extract tables from it that spanned several pages. I found that the tool to help me achieve the task was called pdf2htmlex available at http://coolwanglu.github.com/pdf2htmlEX/.
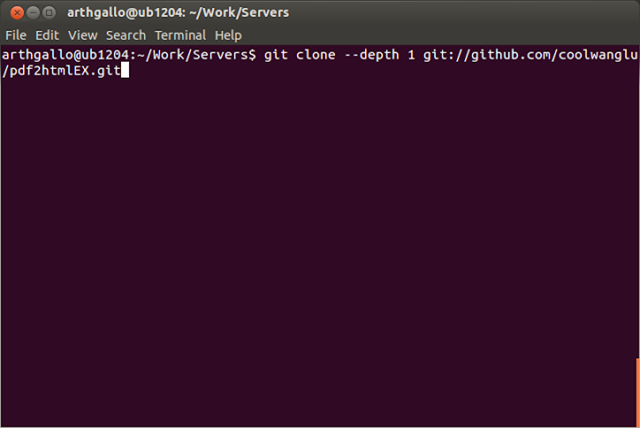
The website points to github which provides the command line commands to download it. To download the source and build it, open a terminal window and enter the following command.
> git clone –depth 1 git://github.com/coolwanglu/pdf2htmlEX.git
Well, turns out I did not have Git installed. So I proceeded to download and install it.
Git was downloaded and installed correctly.
Once Git was installed, I re-issued the previous command, and this time it was downloaded and installed correctly.
Next we cd into the newly created directory and issue commands to build the software.
> cd pdf2htmlEX
> cmake . && make && sudo make install
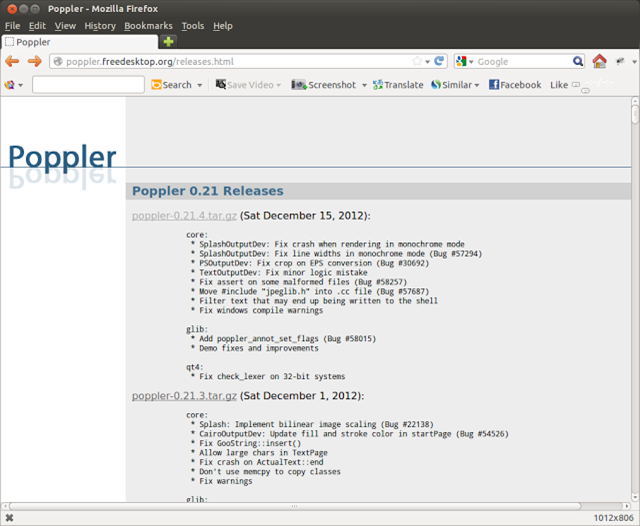
Turns out there were several dependencies missing. One of the major ones was poppler for which Ubuntu had an older version and a version higher than 0.20.0 was needed. I proceeded to download the version from http://poppler.freedesktop.org/ and compiled and built it on the local machine.
The latest version of the poppler software can be accessed from http://poppler.freedesktop.org/releases.html as shown below.
Once downloaded, we need to extract and build the software.
> sudo apt-get install libopenjpeg-dev
> tar -xvf poppler-0.21.4.tar.gz
> cd poppler-0.21.4/
> ./configure –enable-xpdf-headers
> make
> sudo make install
libpoppler was installed successfully!
Note: The option to enable xpdf headers in the configure statement is very important. Without it, poppler will compile, but pdf2htmlEX may not compile.
Next, we need to install the latest version of libfontforge. This has certain dependencies, that can be installed by issuing the following command on the terminal.
> sudo apt-get update; sudo apt-get install libpng12-dev zlibc zlib1g-dev libtiff-dev libungif4-dev libjpeg-dev libxml2-dev libuninameslist-dev xorg-dev subversion cvs gettext git libpango1.0-dev libcairo2-dev python-dev;
Next we need to downloadthe sourcecode and install it. For this, we make a src folder and cd into it using the following commands.
> mkdir src
> cd src
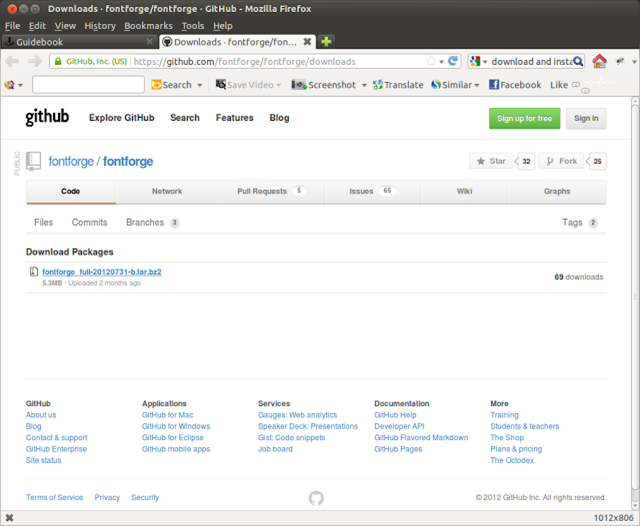
We then proceed to download the sourcecode from the website (https://github.com/fontforge/fontforge/downloads) as shown below.
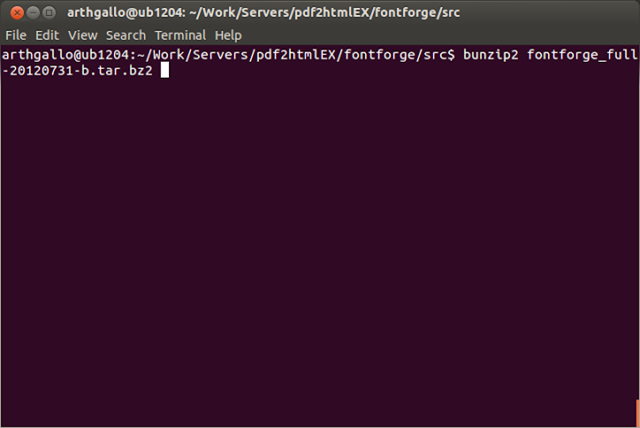
Once downloaded, we can issue the following command to unzip the file.
> bunzip2 fontforge_full-20120731-b.tar.bz2
The resulting tar can be unzipped by issuing the following command
> tar -xvf fontforge_full-20120731-b.tar
Next we need to download a few other modules called freetype and spiro
> git clone git://git.sv.gnu.org/freetype/freetype2.git;
> svn co http://libspiro.svn.sourceforge.net/svnroot/libspiro/;
Now, we need to build all these together.
> cd ./libspiro;
./configure;
make;
Followed by
> sudo make install
Next we need to install fontforge
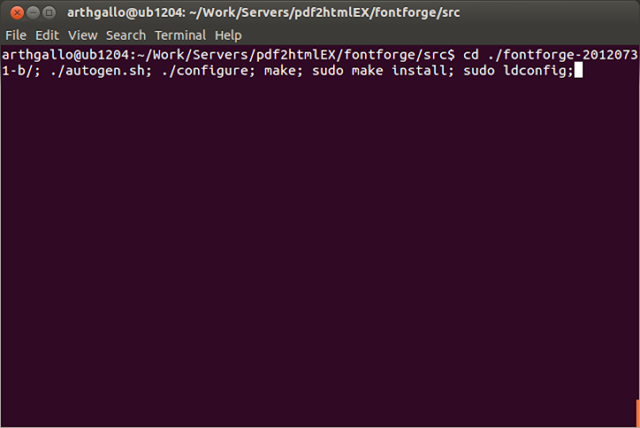
> cd ./fontforge-20120731-b/; ./autogen.sh; ./configure; make; sudo make install; sudo ldconfig;
Then we cd into the directory and configure and make the program by issuing the following commands.
> ./configure
> make
> sudo make install
Finally, the software is built and installed.
Now, we can run the pdf2htmlex command as follows:
> pdf2htmlex
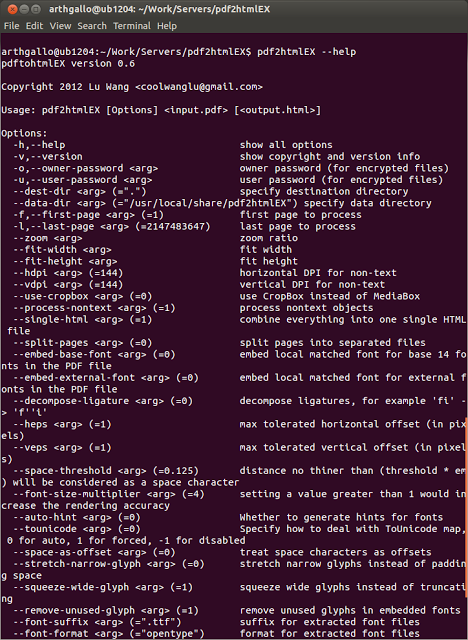
In fact, executing the following explains all the options available with the command.
> pdf2htmlex –help
There you go folks… a simple tool to convert pdf documents to html.


